Registering and Adding a Domain to Your Sellstart Store
Step 1: Domain Registration
Kickstart your online presence by registering a unique domain. For this, navigate to Websupport, a trusted hosting platform. Input your desired domain into the designated field and click on the check availability button. If your domain is available, proceed to purchase and register it.


Step 2: Connect the Domain to Your Sellstart Store
Now that your domain is registered, the next step is to connect it to your Sellstart store. To do this, sign in to your Sellstart admin panel, then follow this path: 'Stores' -> 'Settings' -> 'Domain'.
Connecting your own domain gives your site a personal touch that better reflects your brand.
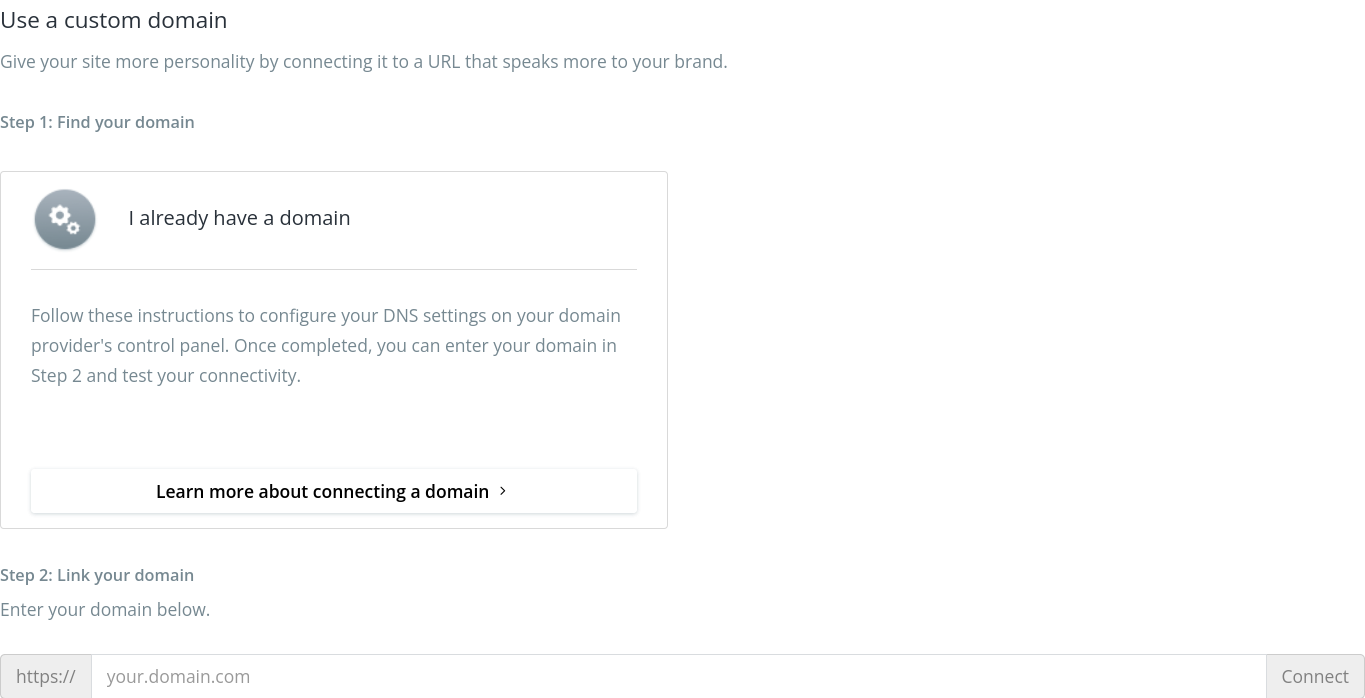
Step 3: Identify your domain
If you already own a domain, follow the provided instructions to adjust your DNS settings on your domain provider's control panel. After doing so, you're ready to link your domain in Step 2 and verify the connection.
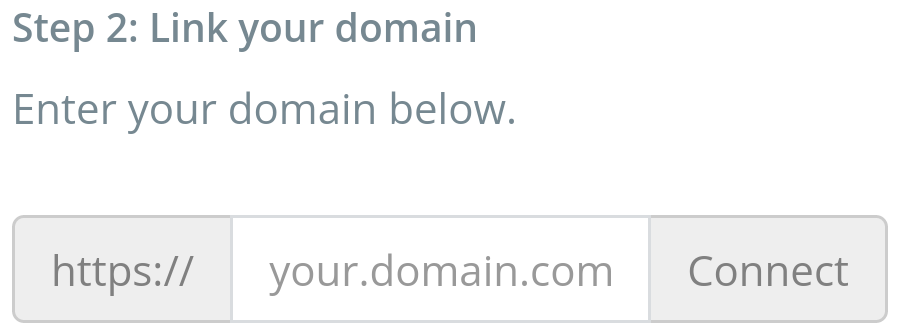
Step 4: Connect your domain
Input your domain in the provided field, then click 'Connect'. Make sure to input a valid domain name.
Step 5: Domain Verification
After linking your domain, the next step is to verify it. This usually involves receiving a confirmation email from Sellstart, which contains instructions on how to complete the verification.
Please remember that connecting your domain to your Sellstart store not only boosts your online exposure but also promotes customer trust. If you face any issues during this process, don't hesitate to contact our support team, who are always ready to help.